
How do you Clean a Carburetor on a Lawnmower? (Easy Checklist)
The carburetor of the lawnmower is the key element of the function. It determines whether the lawnmower will work for many years or smoke as soon as possible.
With this in mind, learning to clean the lawn mower carburetor is a key part of preventive maintenance.
At the beginning of the new mowing season, many people suddenly found that their lawnmowers were working well at the end of last year and do not want to start them now.
There may be many reasons for this, including old fuel, dirty spark plugs, or many other reasons.
However, one of the most common reasons why a lawnmower cannot function properly is that its carburetor is corroded or blocked.
When should you check and clean a Lawnmower Carburetor?
Although the exact recommendations for each household vary, most experts say that you should check and clean your lawnmower carburetor at least once a year.
The reason is simple: when you use a lawnmower, the branches, grass, and debris will scrape the blades into the small engine. Some of this debris will eventually spread inside the carburetor – blocking the fuel and air passages and reducing the performance of the lawnmower engine.
Carburetor repair is not so easy, but many people are not confident about disassembling the engine and would rather take it to a repair shop, although most people will be able to repair the carburetor by themselves.
If you want to save some money when the lawnmower fails to start, follow the steps below to clean the lawn mower carburetor at home.
A Step-by-step Guide to Cleaning Lawn Mower Carburetor
This is our step-by-step guide for cleaning lawn mower carburetor. If there is a problem with the carburetor, please follow the steps below to clean it yourself without calling a professional.
Of course, this only applies to fuel-powered lawnmowers and not to other lawnmowers such as cordless electric lawn mowers or battery-powered self-propelled lawnmowers.
Important note-if this is your first time cleaning the carburetor, or you are not sure how to reassemble the carburetor, please take pictures with your phone at every step of removing anything. This way, when you put it back in place, you will be guided.
Step 1. Safety first
Whenever you carry out any kind of maintenance work, safety is always your top priority. Since old fuel can be highly toxic, the most important thing when disassembling the carburetor is to ensure that you’re working in a well-ventilated area.
If you work in a garage, please open the door and any windows. Also, use a ventilation fan if possible. If your garage or workshop does not have open doors and windows, you should consider working elsewhere.
Step 2. Check to see if the problem is really the carburetor
Sometimes, when diagnosing mechanical problems, some people may be too quick to draw conclusions. For example, when the problem is actually simpler, there may be a tendency to attribute the failure to a bad carburetor.
Therefore, before starting to disassemble the lawnmower, there are several other possibilities to check first.
Is there fuel in your lawnmower? Okay, it sounds obvious, but many people still forget to watch it.
If there is fuel in the lawnmower, check that the ignition switch is in the correct position and make sure that the spark plug is installed correctly and not dirty.
Finally, check if the air filter is clean and free of debris.
If all of this is in order, spray some carburetor cleaner into the carburetor and try to start the lawnmower. If it starts or even splashes after doing this, it means that you do have a carburetor problem and need to be removed and cleaned.
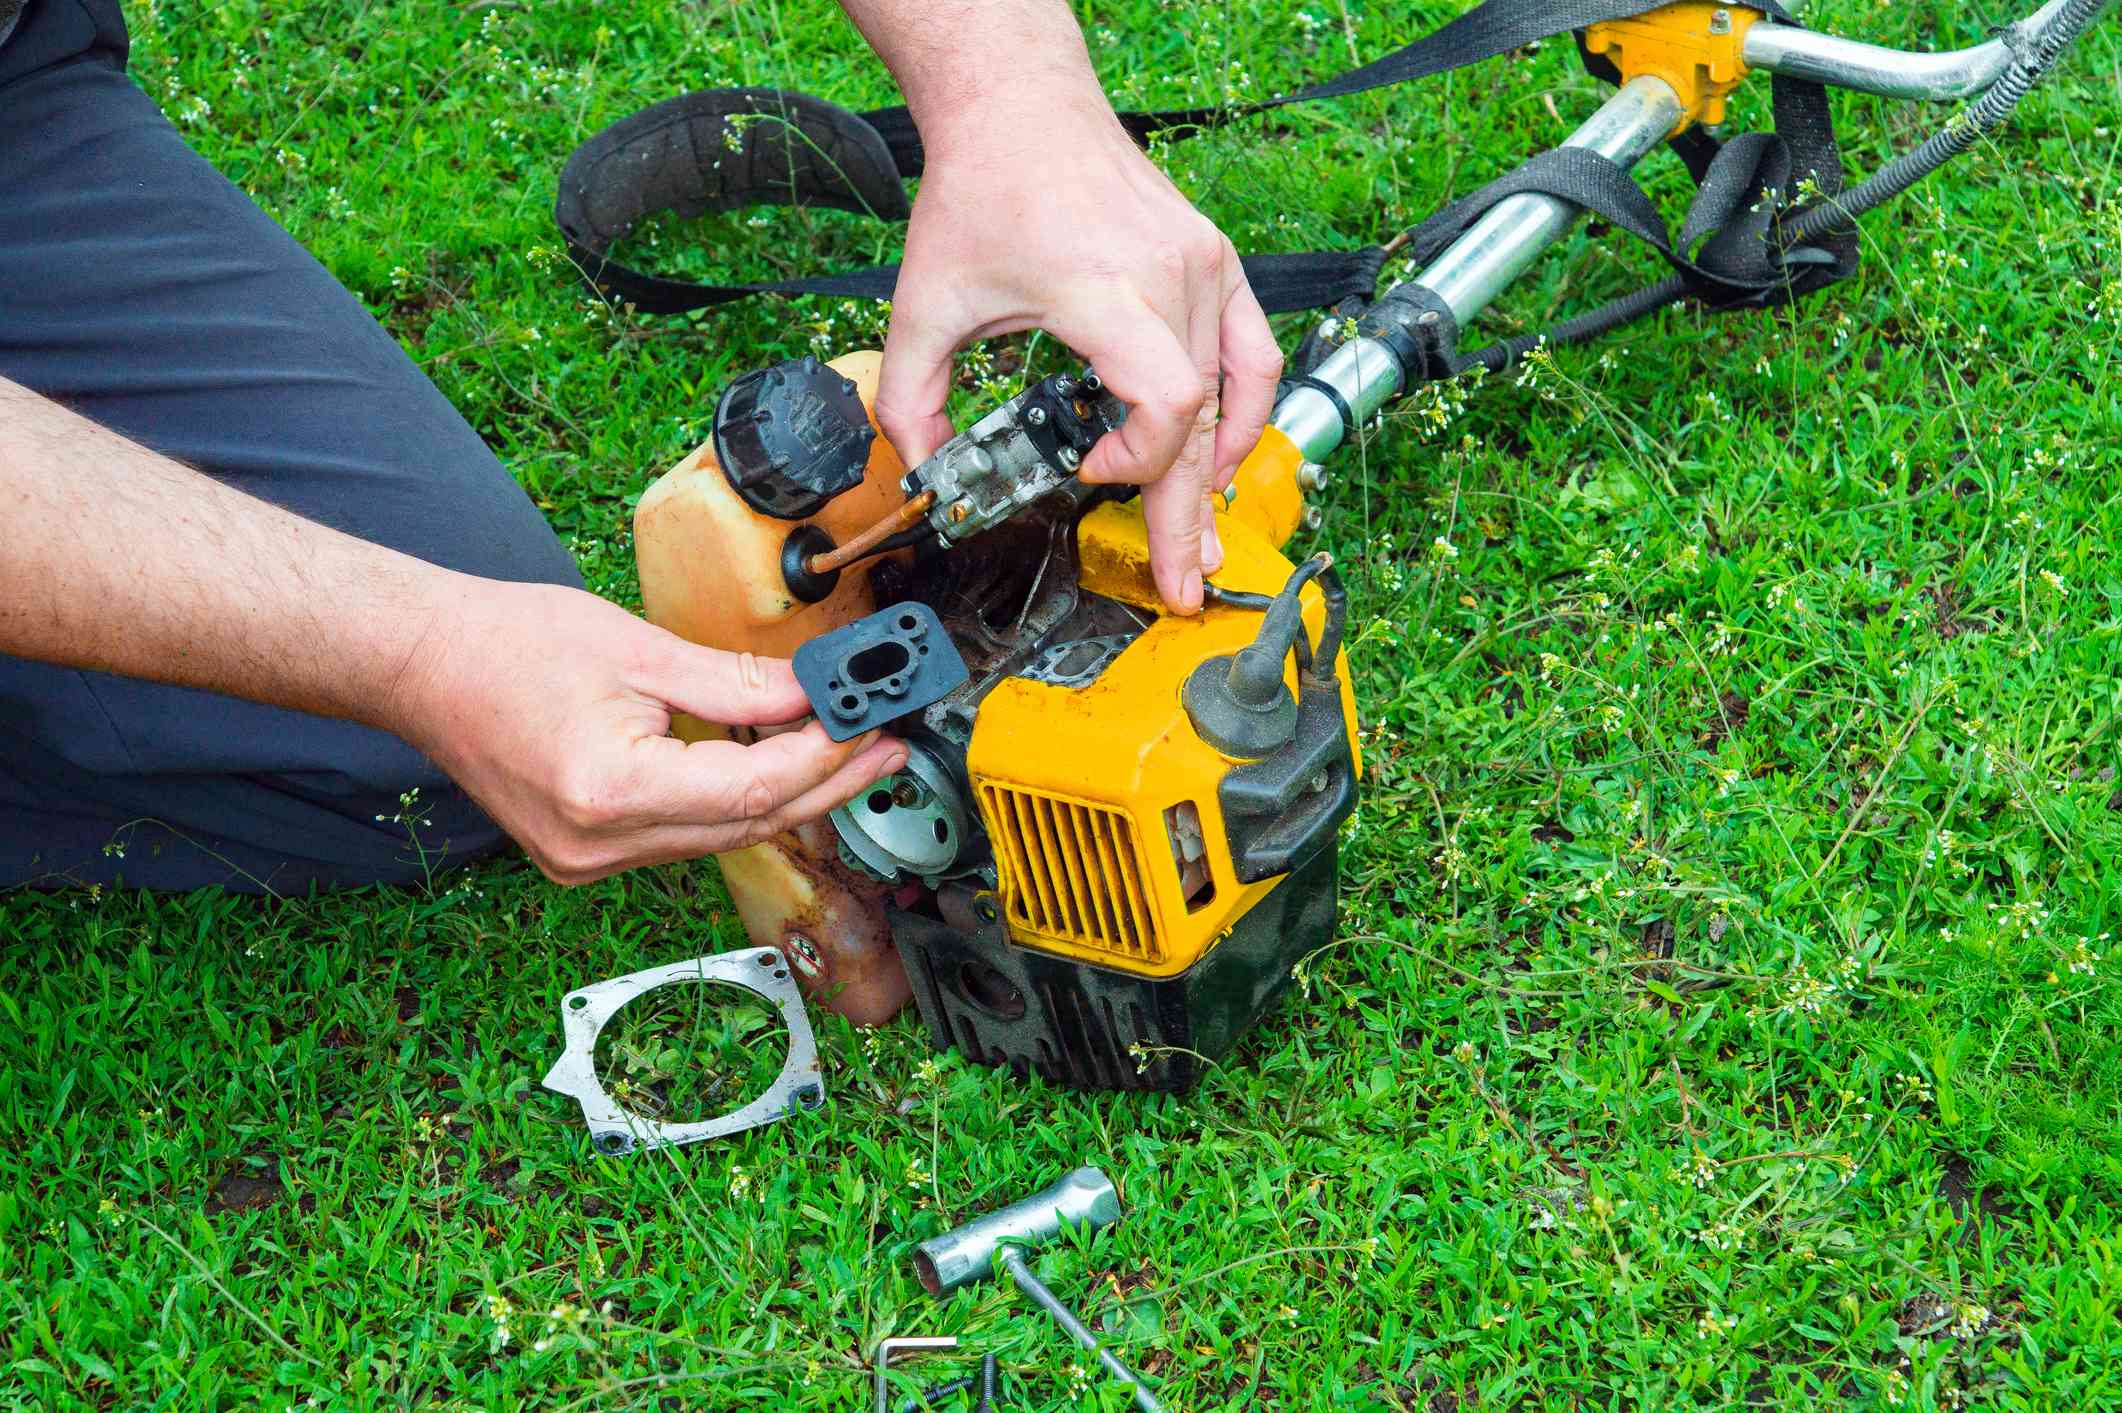
Step 3. Remove the Outer Casing and Air Filter
How to do this depends largely on your lawnmower model, but generally speaking, you should just loosen some screws and remove the outer panel to expose the inside of the lawnmower.
Remove the air filter, and you will find the carburetor.
Step 4. Remove the carburetor and take it out of the fuel pipe
The carburetor itself should be bolted in place. Loosen the carburetor, and then loosen the fuel pipe.
At this stage, some fuel should overflow from the carburetor and fuel line at the same time, so it is best to prepare a rag to catch the liquid.
If there is no fuel spill, it may mean that you have other problems-this may indicate that your fuel line is blocked, so at this time, you may want to check whether the fuel line is unblocked.
Step 5. Remove the bowl cover and clean the nuts
The carburetor bowl is fixed in place by a single nut. First, clean around the drum with carburetor cleaner, then unscrew the nut and remove the drum.
The nut is actually a nozzle with a hole, and you need to make sure that there are no obstructions in the hole.
You can do this by simply poking a paperclip or a small piece of wire in it.
One of the most common reasons for a carburetor to stop working is that there is only a small piece of debris in the ejector, and simply cleaning the hole can solve your problem.
If the washers are old, some of the washers may also stick to the nut, so scrape off the washers to make them clean. Finally, spray the nuts with some carburetor cleaner.
If the bowl is damaged or extremely dirty, you should replace it instead of trying to clean it.
Step 6. Replace the needle
After removing the filter bowl, you will see that the float chamber is fixed to the carburetor with a needle. Remove the needle and replace the needle.
Inside the carburetor, there is a small gasket where the needle is. You should also replace it, taking care to install the new one correctly.
Step 7. Spray the Carburetor with Cleaning Fluid and Clean the inside holes
After removing all parts, a good spray of carburetor cleaner should be used to clean the carburetor.
You also need to clean the inside of each hole in the carburetor.
You can use a paper clip or wire, just like the nut in step 6.
Make sure all holes are clean and free of debris.
Step 8: Replace the main Gasket
When you disassemble the carburetor, it is best to replace the main gasket between the carburetor itself and the bowl.
Simply remove the old one and install the new one in the appropriate location.
Step 9. Reassemble and Reconnect
Using the photos taken at each step on the phone, put the carburetor back in place and then reinstall it on the engine.
After everything is back in place, fill the fuel tank and start. If you have resolved the issue, you should now be able to start easily.
Conclusion
Even for those who are not familiar with machines and engines, repairing a blocked or dirty carburetor is relatively easy and can save you money.
However, if you follow all these steps and the lawnmower still does not start, it may be time to consider sending it to a repair shop.