
How to clean a carburetor on a Lawnmower without Removing it?
Today, we will discuss how to clean the carburetor in a lawnmower without removing it. This is a good choice if you do not have the technical knowledge and the right tools for radical cleansing which calls for eliminating the carburetor from the system.
The machine has many fast-moving components that work together to make it work.
Just like a car, the lawnmower also has a system referred to as a carburetor, which is responsible for the movement of the cutting blades.
A carburetor is a tool that injects air into fuel for inner combustion. The combustion is what is going to power the blades.
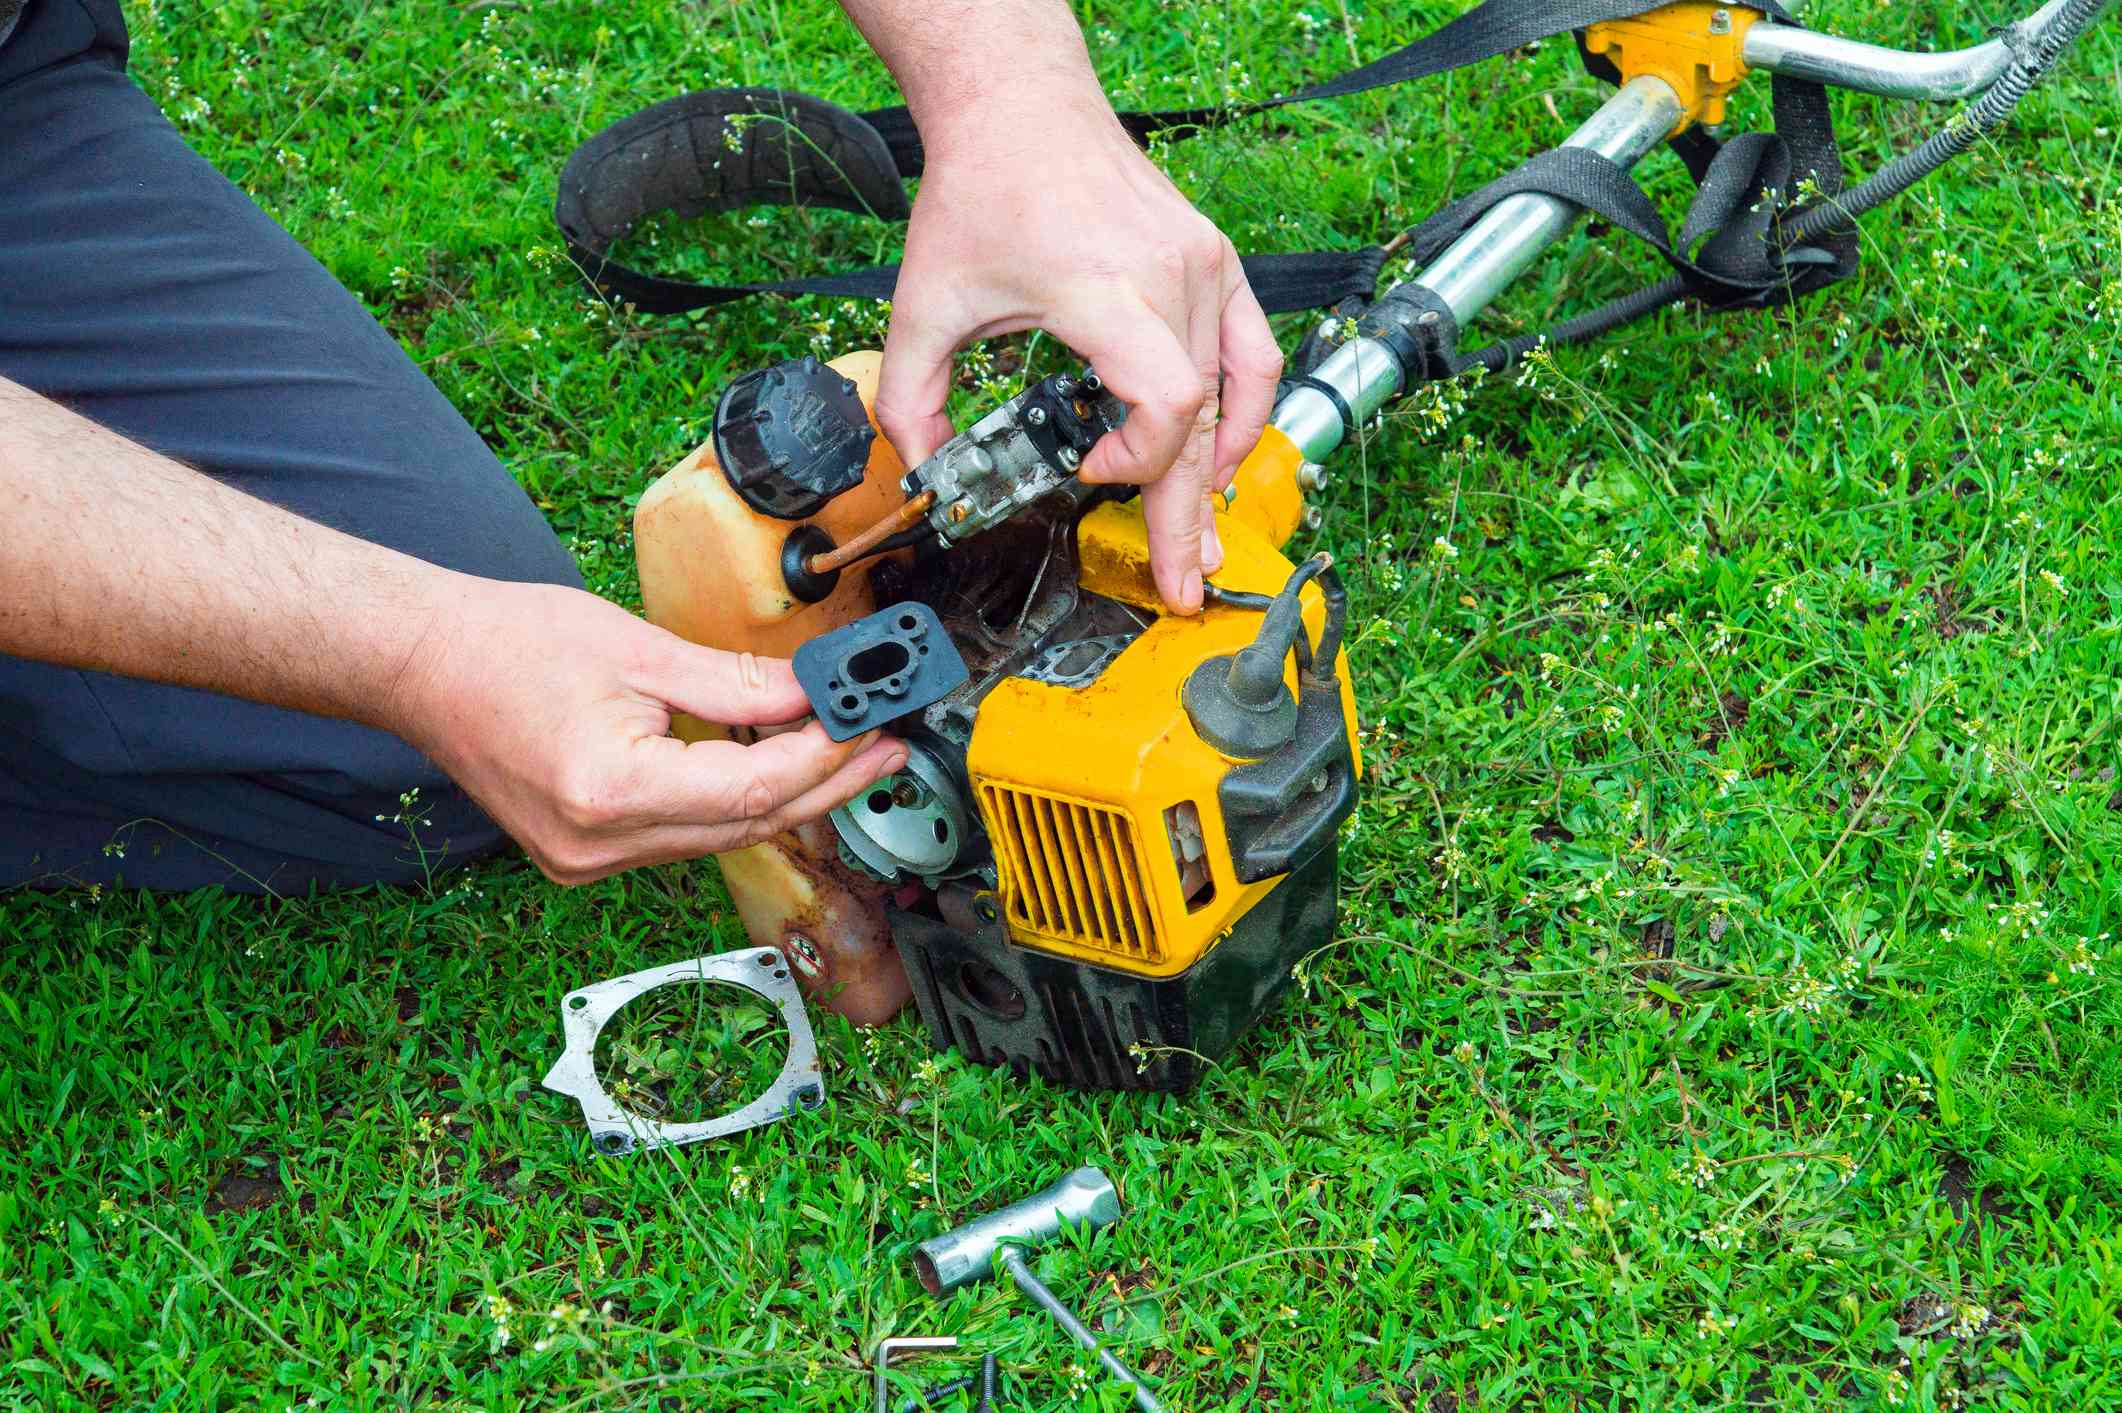
The carburetor of the lawnmower should be checked regularly because it can easily clog lawn debris in the air filter. The carburetor can be cleaned without removing the carburetor from the lawnmower.
If the carburetor isn’t in proper operating condition, then the entire machinery will be affected, because the air and, fuel mixing in the lawnmower engine will not be powerful at all.
You might also have additionally noticed that if some parts of the lawnmower are in poor condition, the lawn mower’s performance tends to be poor.
Carburetors are found in large machines such as commercial aircraft and in small ones such as in reliable lawn mowers.
How to clean lawn mower carburetor- A step by step guide
We assume that your lawnmower is in good shape, can be used regularly, and is well maintained. Any lawnmower that is rusty or flooded in the garage requires extensive repairs, which require the removal of the carburetor.
Cleaning the carburetor without removing it is not a substitute for transporting it to the local factory for disassembly, deep cleaning and maintenance.
It is maintained once a month, which is a good practice to extend the service life.
Step 1: Turn off the lawnmower
Always safety first. You only need to perform a simple cleaning of the lawnmower without any accidents.
In the middle of the process, you will need to turn on the machine again. Read on to find out where you should proceed.
Also, don’t forget to take photos of the carburetor before doing anything.
Step 2: Perform a preliminary inspection
Before starting the cleaning, read everything carefully to evaluate how the cleaning is going. If you see bare wires, it may be a mouse chewing. If you see rust spots, the carburetor may have been exposed to water and has not dried out quickly.
Whether it is a simple cleanup or complete disassembly, things like these should be considered before performing any operations.
Remember, if the lawnmower is still under warranty, make sure to ask the company if your machine is eligible for cleaning.
Step 3: Take out the air filter and clean it
All the inhaled air passes through the air filter. Unless you use the lawnmower in a clean, empty room, there will be a lot of dirt and sediment on the filter.
If there is little dust, you can only use a damp cloth, but use the vacuum blowing function to remove the dust.
If the air filter on the lawnmower can be removed, it is best to remove it and clean it yourself. In this way, you can clean both sides and let them dry.
Now, you don’t need to wait for the air filter to dry before proceeding.
Step 4: Observe the interior carefully with a flashlight or headlight
Most people ignore this and only glance at the internal structure.
With flashlights or headlights, you can focus on all the parts one by one to understand what to deal with.
You don’t want any unexpected feelings, such as bare wires. If you don’t see it with a flashlight, you can leave it unattended.
Step 5: Check the connection line in the carburetor
The wires are important, but they are very thin. Pulling it slightly may jam it and make the machine unusable (for a while, until a replacement cord is obtained or it is repaired).
When a bare wire touches another wire or some dry grass (flammable), it can also cause serious injury.
Step 6: Use an air compressor gun to remove all dirt
During the days (or months) when you use the lawnmower, dust and debris may accumulate inside and outside the carburetor.
Some are placed in hard-to-reach areas, so why not use a compressed air gun instead of squeezing in?
You can use this tool to easily remove any debris. However, you should not use it at the highest settings, or even industrial air compressor guns designed for heavier cleaning.
Step 7: Spray the insides with spray cleaner
Don’t be confused by using water to clean the carburetor. That will only destroy the machine. The aerosol cleaner is a machine-friendly product that can be adhered to the surface to provide a longer protection period.
Now, this step requires turning on the machine. The reason is that you need a cleaner to pass through the machine in order to clean the internal parts.
Turn off the engine and completely inject oil into the throat of the carburetor. The bottom plate will also be dirty, so please spray it well.
Step 8: Manually remove all punk and sediment
After blowing off the dirt with the air compressor spray gun, and spraying the aerosol cleaner, it is time to do it manually and clean the remaining dirt.
Make sure your cloth is damp and not wet to easily wipe off any solid dirt. In addition, after wiping the main dirt each time, please rinse the cloth and squeeze out the water to prevent the dirt from spreading further on the carburetor.
Step 9: Check everything before finishing
After completing all the steps, make sure to check everything and use a flashlight to spot-check important parts. You can view the photos taken before to see if all the photos match.
Test and let it run for almost 5 to 10 minutes to see if the cleaning has affected any items. Usually, you will notice a smoother start (no rattling or vibration).
Additional Tips:
Below are some final tips for you to consider before cleaning the carburetor
- Maintain a schedule for regular partial cleaning (as described in this article) and deep cleaning (removing the carburetor).
- Before using a lawnmower that cannot be started in a repair or cleaning shop, make sure you know where the problem is. Some stores will exaggerate the problem and demand more expensive service.
Conclusion
At first, cleaning the carburetor can be daunting. After all, not everyone is proficient in machines or has previous experience. The purpose of this guide is to outline how the process works.
However, because some lawnmowers are constructed differently, and some lawnmowers are used differently, the process may be different.
Always remember that cleaning without removing the carburetor is not a substitute for deep cleaning the carburetor or even removing parts for cleaning.
You can also check this other guide if you would like to clean your mower carburetor by removing it completely from the mower.