
How to put a Ball Hitch on a Lawn Mower? (Revealed!)
This article will show you how to put a ball hitch on a lawnmower to help you take advantage of the excellent traction capabilities of the lawnmower.
Always work smarter instead of harder to feel better. Putting a ball hitch on the lawnmower will give you the full value of your investment. Therefore, it is best to invest in a ball hitch on the lawnmower.
Yet, you need to know how to put the ball on the hitch first.
You first need to select the appropriate model for the machine in order to install a new ball hitch on the lawnmower. Not all lawn mowers have the same towing capacity, so it is necessary to ensure that the hook works properly. Next, you need to fix the hitch on the back of the lawnmower to keep it in place.
You can use the lawnmower for many purposes. E.g., you can use a lawnmower to mow all types of lawns and fields.
One can also use a lawnmower to drag anything by simply placing a ball hitch on the back of it.
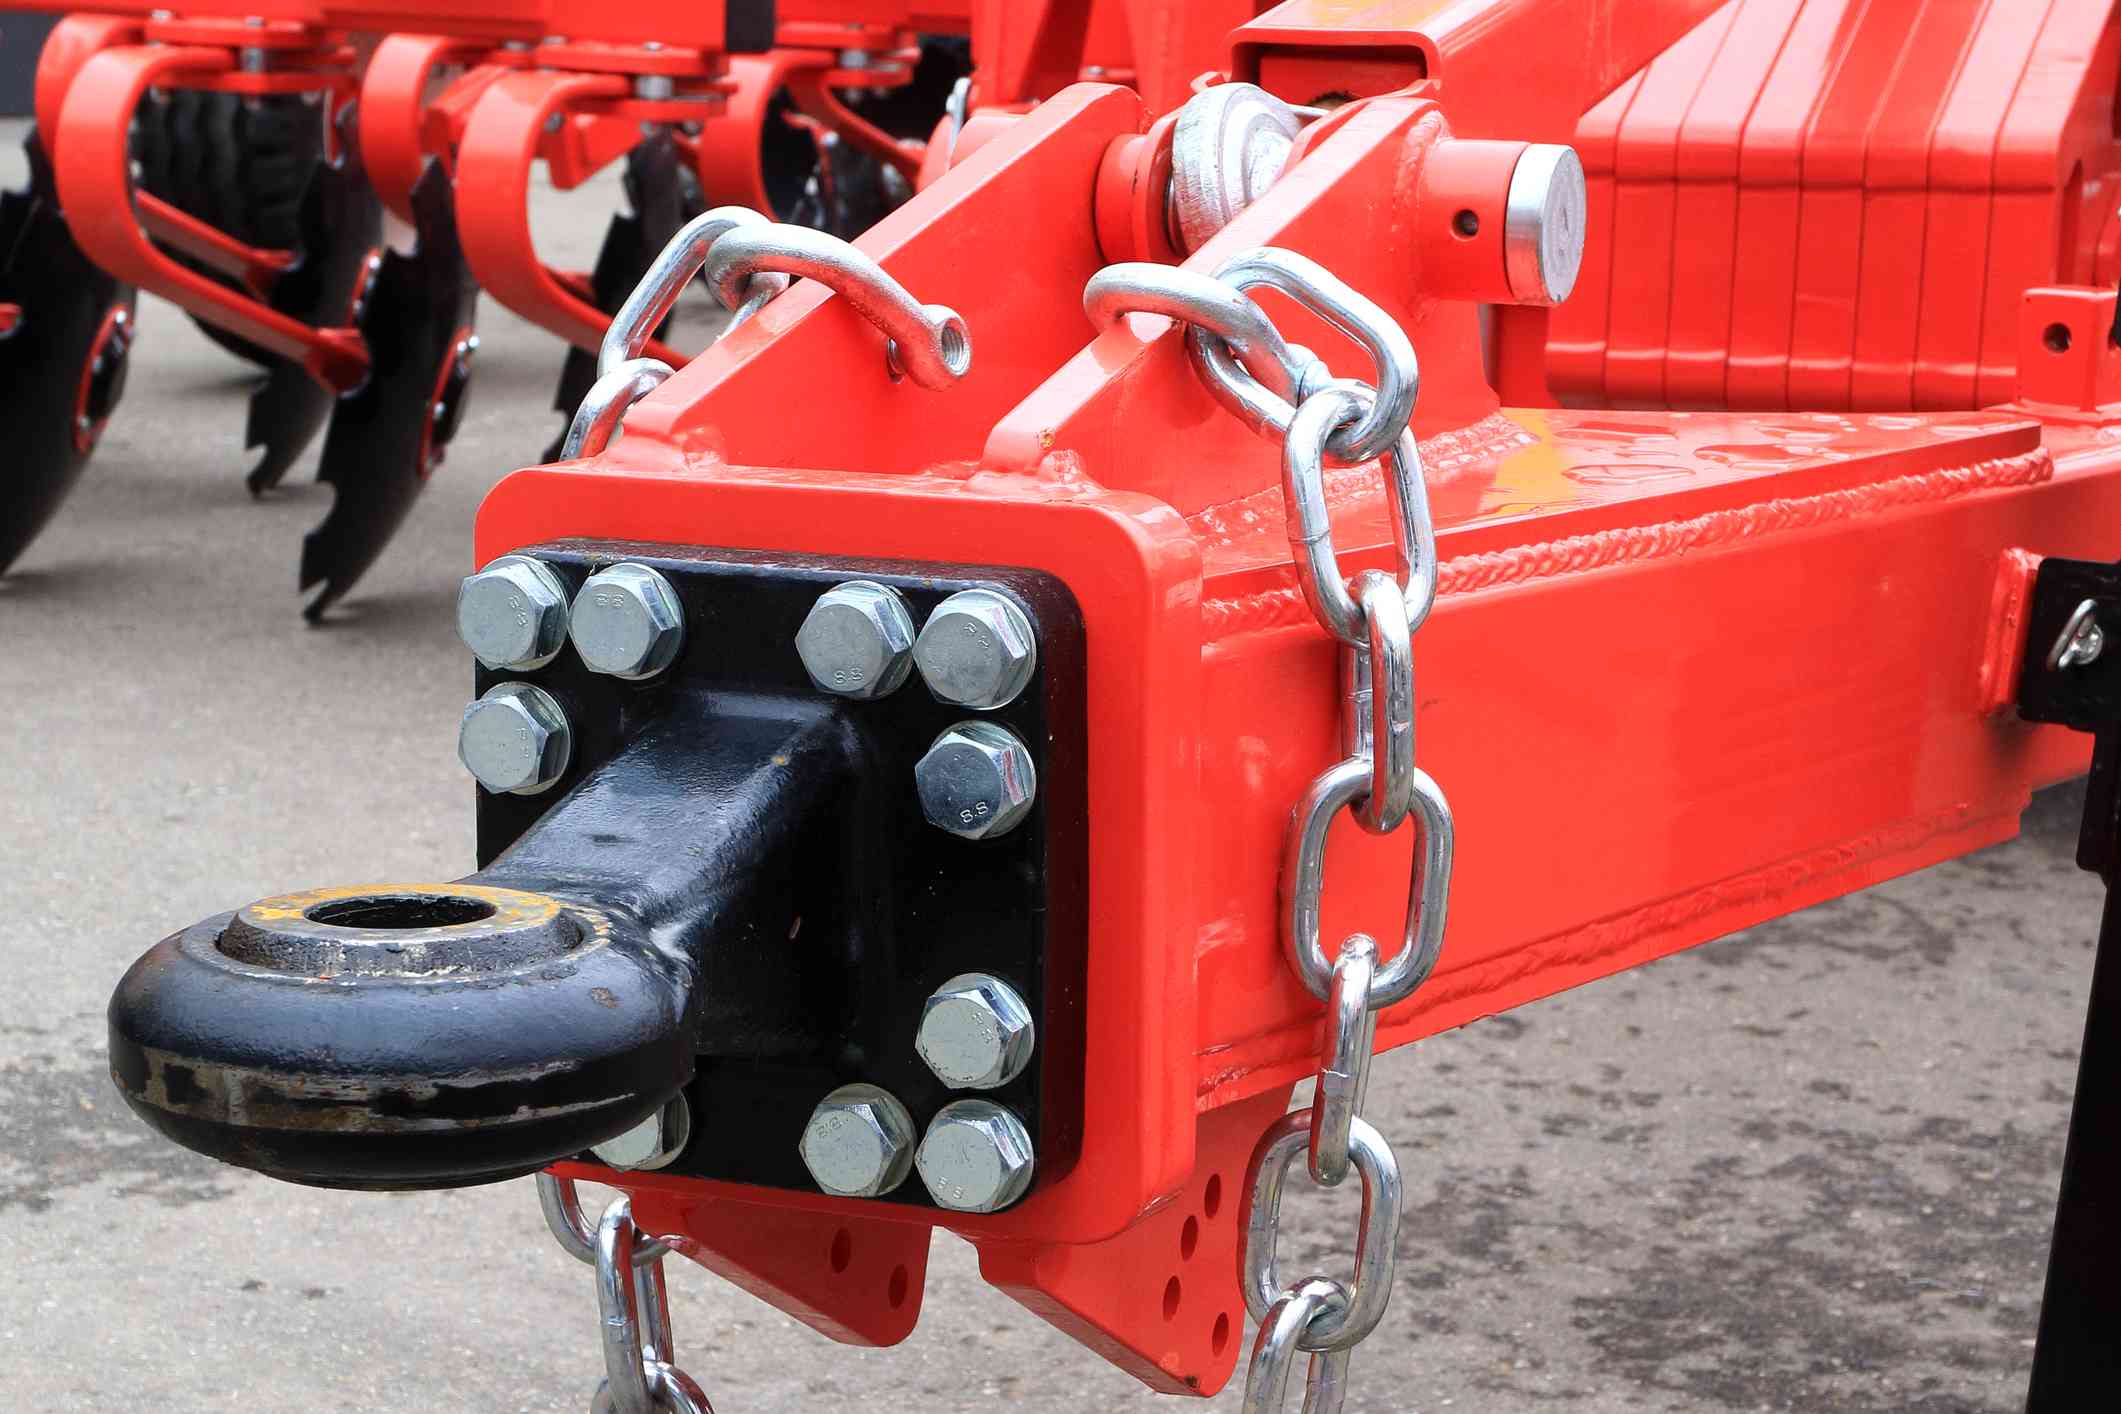
But when you buy a lawnmower, you know that the ball is not provided.
Where can you get it? You can buy it from Amazon or a local auto shop.
Now let’s talk about the main point. Have you any idea how to put a ball hitch on a lawnmower? If No! Stay with us.
A complete guide to putting a ball hitch on a lawnmower
If you want to put a ball hitch on the lawnmower, you won’t encounter many difficulties.
It looks great, right?
Okay. But, before installing a ball hitch with a lawnmower, you need to purchase a ball hitch kit.
Let’s take a look at what is included in the ball hitch kit:
- Hitch setup body
- Brace arms
- A ball
- Locknuts
- Bolts
- Flat washer
In fact, different types of ball hitch kits can be used on different online platforms. Always try to buy packaging with balls.
In order to install the ball hitch on the lawnmower, some tools are also needed. To facilitate work, please try to keep the tool as close to the installation location as possible.
Let’s take a look at these basic tools.
Tools needed:
- Socket Wrench
- Pliers
- Driller
- Hand gloves
- Goggles
Steps you should follow:
Step 1: Prepare the lawnmower:
To facilitate work, bring the lawnmower to a flat surface.
Step 2: Enable parking mode:
Activate the parking mode of the lawnmower. This prevents any movement of the lawnmower while it is working.
Step 3: Disconnect the Power cable:
Disconnect the power cable from the battery. This will save you from electrification.
Step 4: Connect the brace arms:
Connect one set of brace arms to the main body of the hitch. Use bolts to connect them with the hitch body. Place two flat washers under the bolts.
Turn it clockwise with a socket wrench to tighten it. Check whether the arms are in a parallel position.
Step 5: Connect the hitch body:
Now it’s time to connect the hitch device to the lawnmower. You will see a mounting hole on the back of the lawnmower. Above the mounting hole of the lawnmower, place the hole of the hitch body.
Now, use the locknut to connect the hitch body to the lawnmower. Place the flat washer under the locknut, and then use a socket wrench to tighten it.
Step 6: Drill the rear part of the lawnmower:
Drilling is required to connect the brace arms to the rear part of the lawnmower. To do this, make the two marks along the armhole on the lawnmower. Try to mark correctly so that drilling can be done easily.
After marking, bring a drilling machine and drill according to the marking. Fix the brace arms in place, then use bolts to connect them to the lawnmower. Place two flat washers under the bolts, and then use a socket wrench or pliers to tighten the bolts.
Step 7: Adjust the ball:
Now, this time place the ball on top of the hitch body. If you notice, you will see a groove on the lower part of the ball to attach the nut.
Place the locknut under the ball and turn it clockwise. Tighten the lock nut correctly with a socket wrench.
Done! Now you can link anything to the tail of the lawnmower and drag it away.
Alternative Process:
You can use pipes instead of a ball hitch set. You can also do it at home. Also, it can reduce your costs and troubles.
Tools needed:
- Tube pipe
- A Saw
- A Welding machine
- A ball
Steps to Follow:
Step 1: Prepare the pipe of a tube:
Take a pipe of a tube and cut it with a saw as needed.
Step 2: Connect the ball:
Connect the ball to the pipe by welding. Wait until the ball is fully connected to the pipe.
Step 3: Weld the ball with the lawnmower:
Once the ball is fully secured to the pipe, it is welded to the back of the lawnmower.
Precautions:
- Wear gloves and goggles to avoid injury.
- Handle the drilling machine and welding machine carefully.
- Please read the user manual of the ball hitch carefully to facilitate installation.
Conclusion
Putting a ball hitch on a lawnmower is not a difficult task. If you collect all the necessary materials you need, it can even be done at home.
I hope the above process will help you understand how to install the ball hitch on the lawnmower.
However, if you have any confusion about this issue, please seek the help of professional technicians.
This will make your task easier and more comfortable.